Create Collateral & Onboard Tenant
Prerequisite: You have created your user account and have prepared the product selection for your tenants. You are ready to invite your tenants to create and manage their rental portfolio on Zinsli.
All actions described here can also be completed via API. Please check the documentation for Devs for more information.
- Make sure you are in the context of the organization. To do this, look at your profile name in the top left corner. If it does not show your organization’s name and logo, click on it and switch to the organization in the drop down menu.
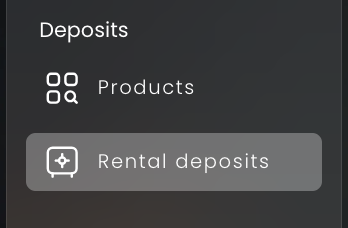
- In the menu on the left, click on ‘Rental deposits’
- In the rental deposit overview, click on "New rental deposit".
- As this is considered a sensitive activity, you may be asked for a PIN which you will receive by SMS to the phone number in your profile. Enter the PIN. (If you are not asked for a PIN, it is because you have a valid session through a recently entered PIN).
-
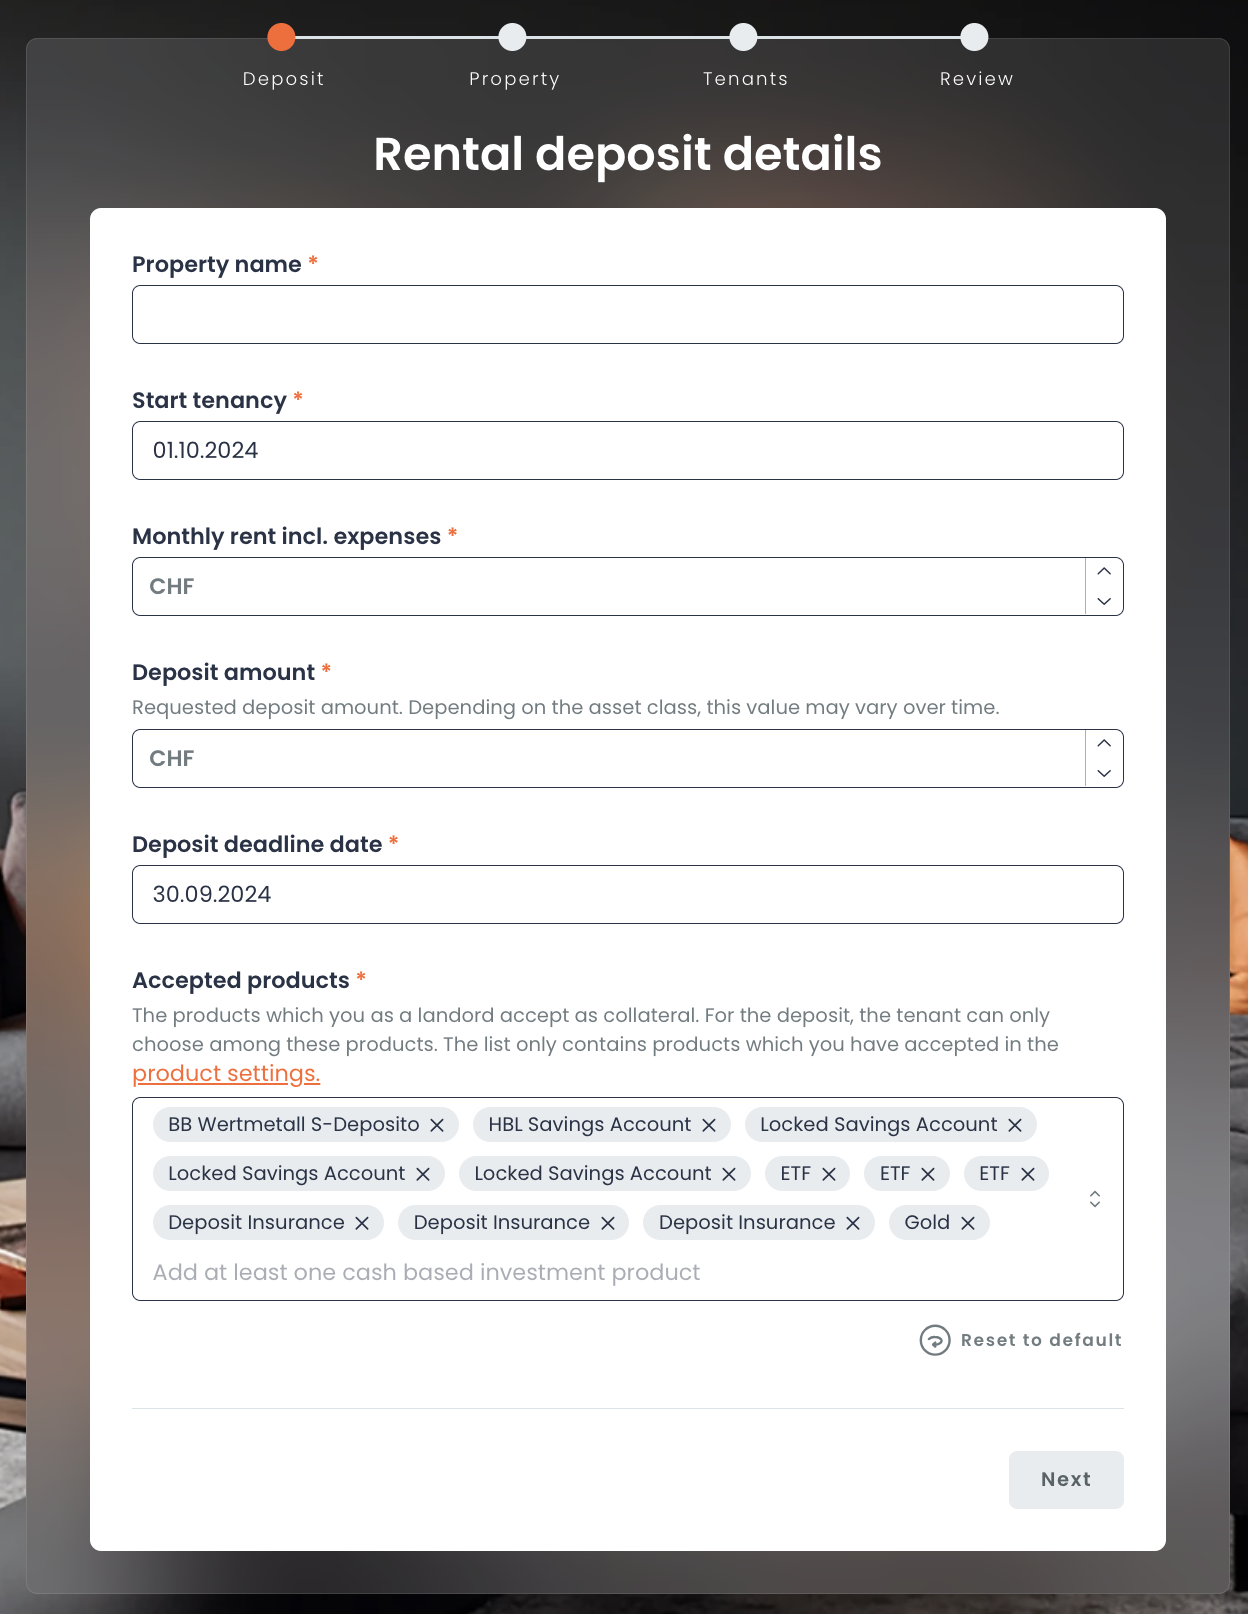
Give the rental property a name, enter the monthly rent (including utilities) and the deposit amount. Set the deposit deadline.
By default all the products that you have activated are added to the collateral. Remove any which you do not want to allow for this tenant.
Click on "Next".
-
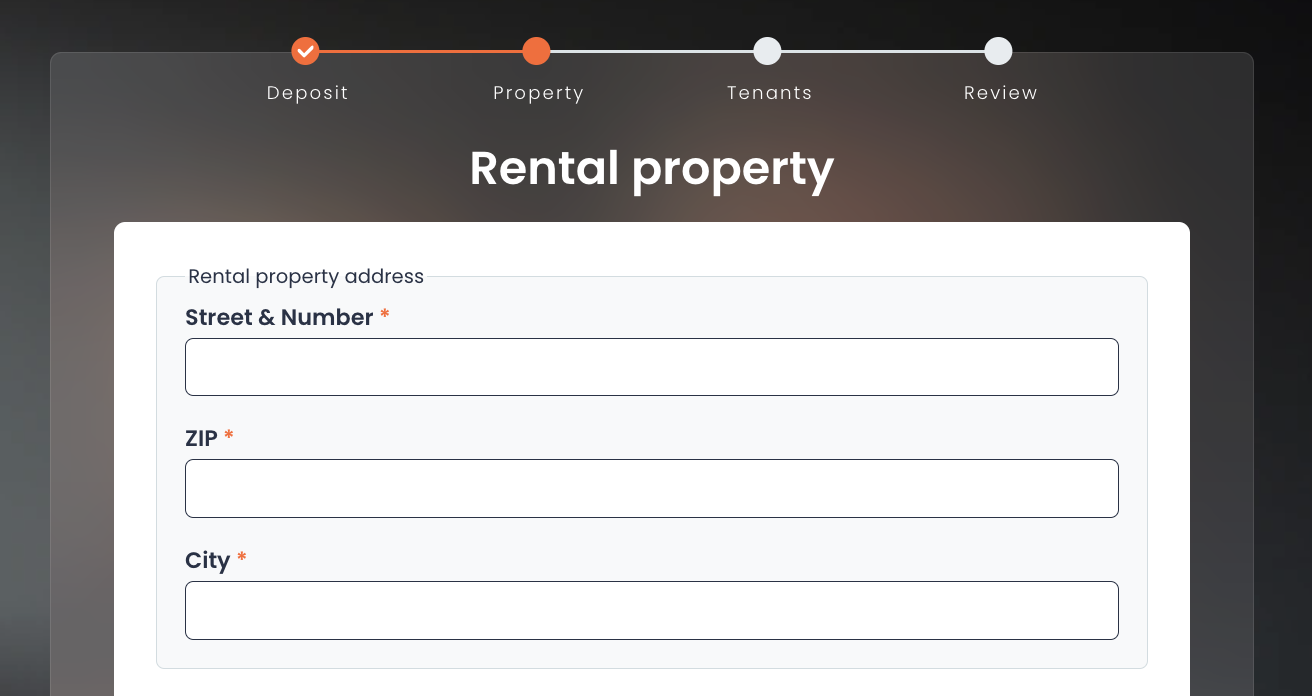
In the ‘Rental property’ screen, enter the address of the rental property, the information about the owner, and the property manager. Optionally, you can also add characteristics of the rental property like type and size.
Click on "Next".
-
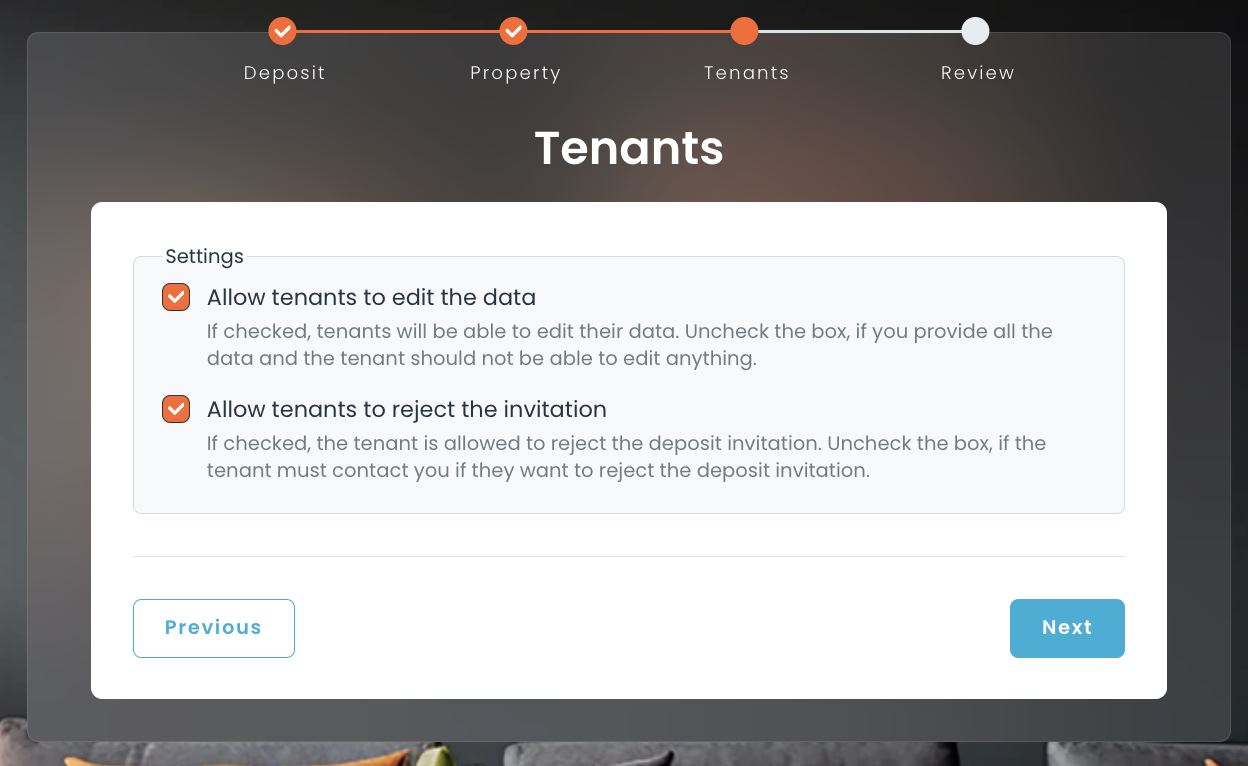
Adjust the following two settings according to your needs:
Option 1: Are you entering all the Information about the tenant or should the tenant enter their own information?
Option 2: Should the tenant be allowed to decline the invitation that you send them via Zinsli? You may want to block this if you have integrated the Zinsli solution in your platform and a refusal from the tenant may require contractual adjustment and as such you want the tenant to contact you if they do not like the Zinsli solution.
-
If you chose the option where you enter the tenants’ information, enter their information now. Additional tenants can be added at the bottom of the form.
Tip: The first invitation to manage the deposit via Zinsli will be sent to the main tenant. They will be requested to choose a product and complete the onboarding process. They secondary tenants will be informed about the product choice and will be asked to agree.
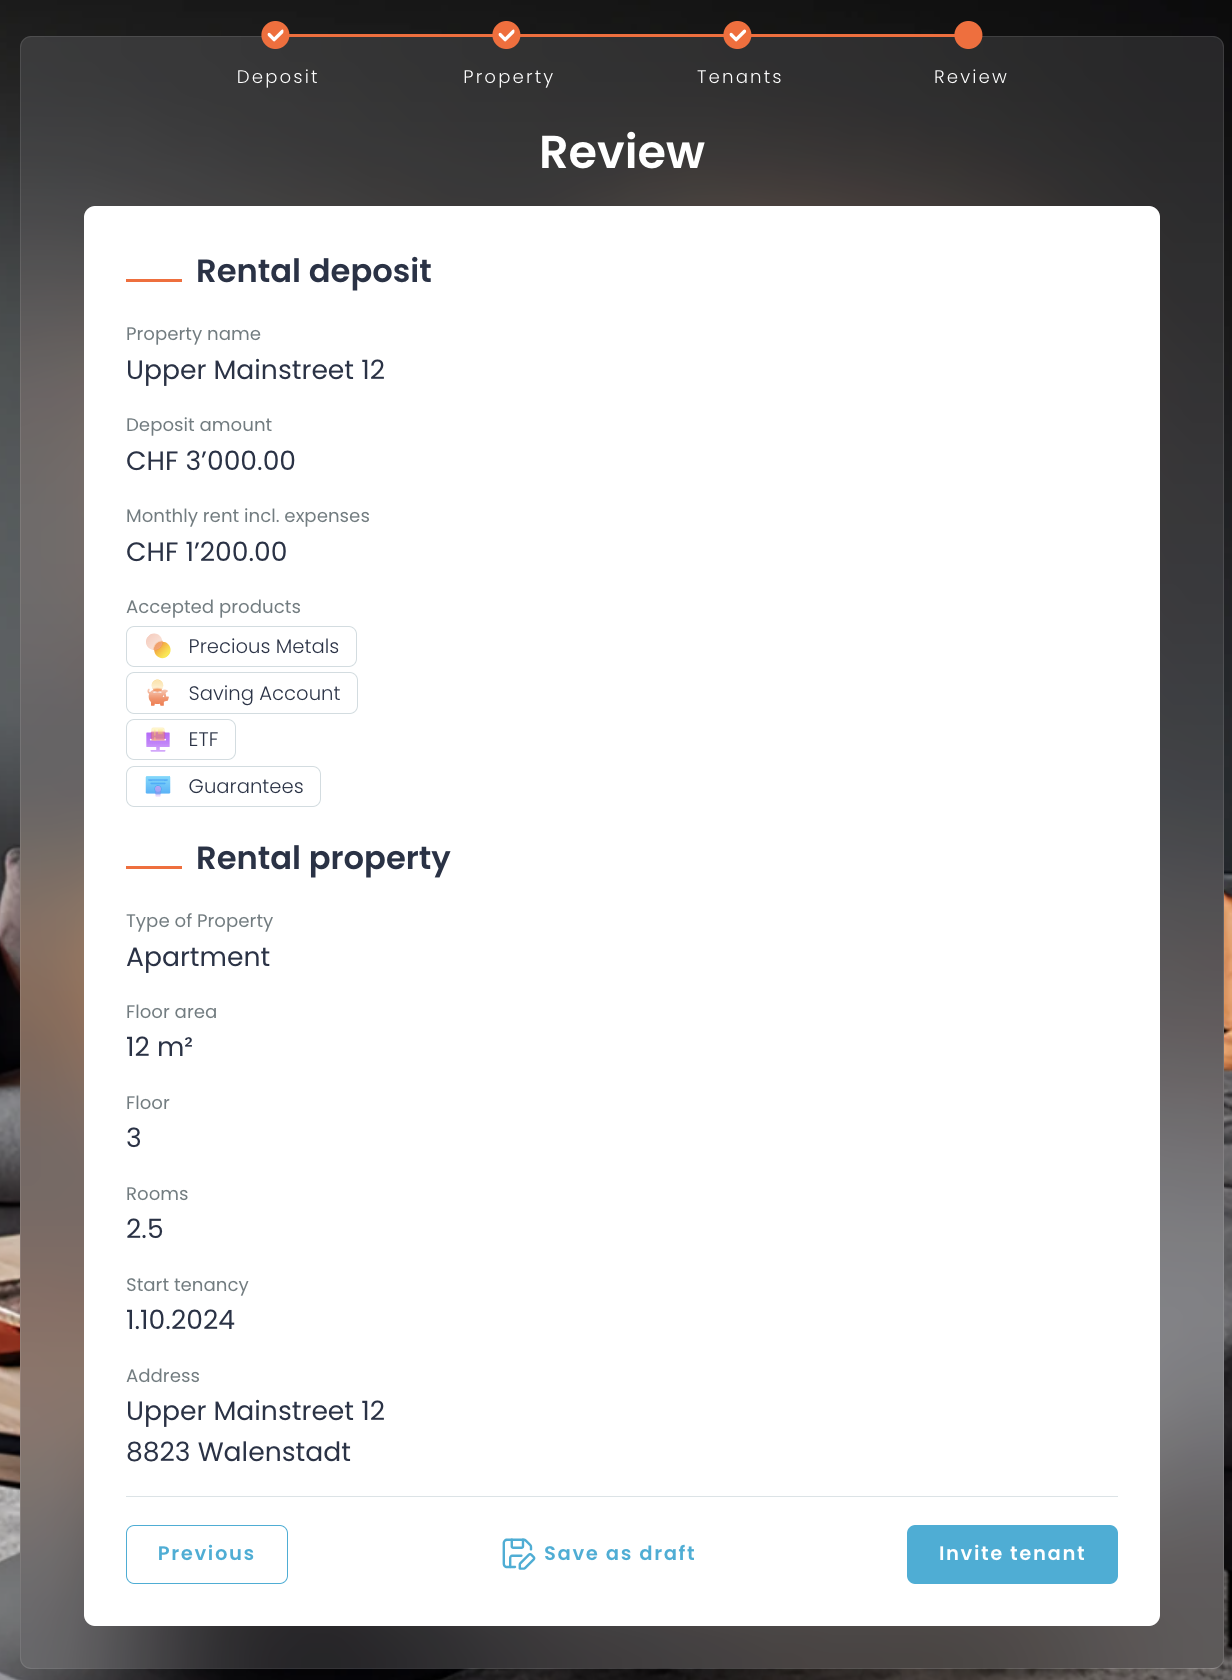
- In the summary, make sure that all the information is correct. Click on "Invite tenant".
- Enter the name and email address of the tenant. In case of a multi-tenant agreement, the invite should be sent to the main tenant.
-
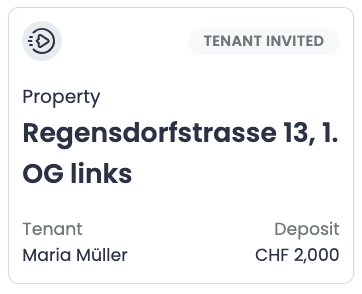
Once the invitation has been sent, you will see the newly created deposit request on the deposit overview page with the status "Invitation sent". Click on the tile to see the details of the deposit request.
TIP: As long as the tenant has not accepted the invite, you can withdraw (cancel) it. Go to the detail view of the collateral and click the 'Cancel Invite' button.
- Now it's the tenant's turn. We will make sure that the tenant opens and deposits the deposit and we will keep you informed with automated updates. You can also check the status on the platform at any time.
Troubleshooting
What are the possible states of a collateral and what do they mean? Please see the this list for a listing of possible states and what they mean for you and your tenants. For a tech definition, please refer to the glossary.
How does Zinsli handle rental situations with multiple tenants?
The first invitation to manage the deposit via Zinsli will be sent to the main tenant. They will be requested to choose a product and complete the onboarding process. They secondary tenants will be informed about the product choice and will be asked to agree. Once all tenants have submitted their confirmation, the request is sent to the product provider to open the account.
The landlord is kept informed on the status changes, and can also see the status of the deposit at any time by logging into Zinsli.